Month: September 2014

Kraken Rigging Pt.2: Setting up the Bait Tank.

With your kayak set up for live bait you will get more big fish.

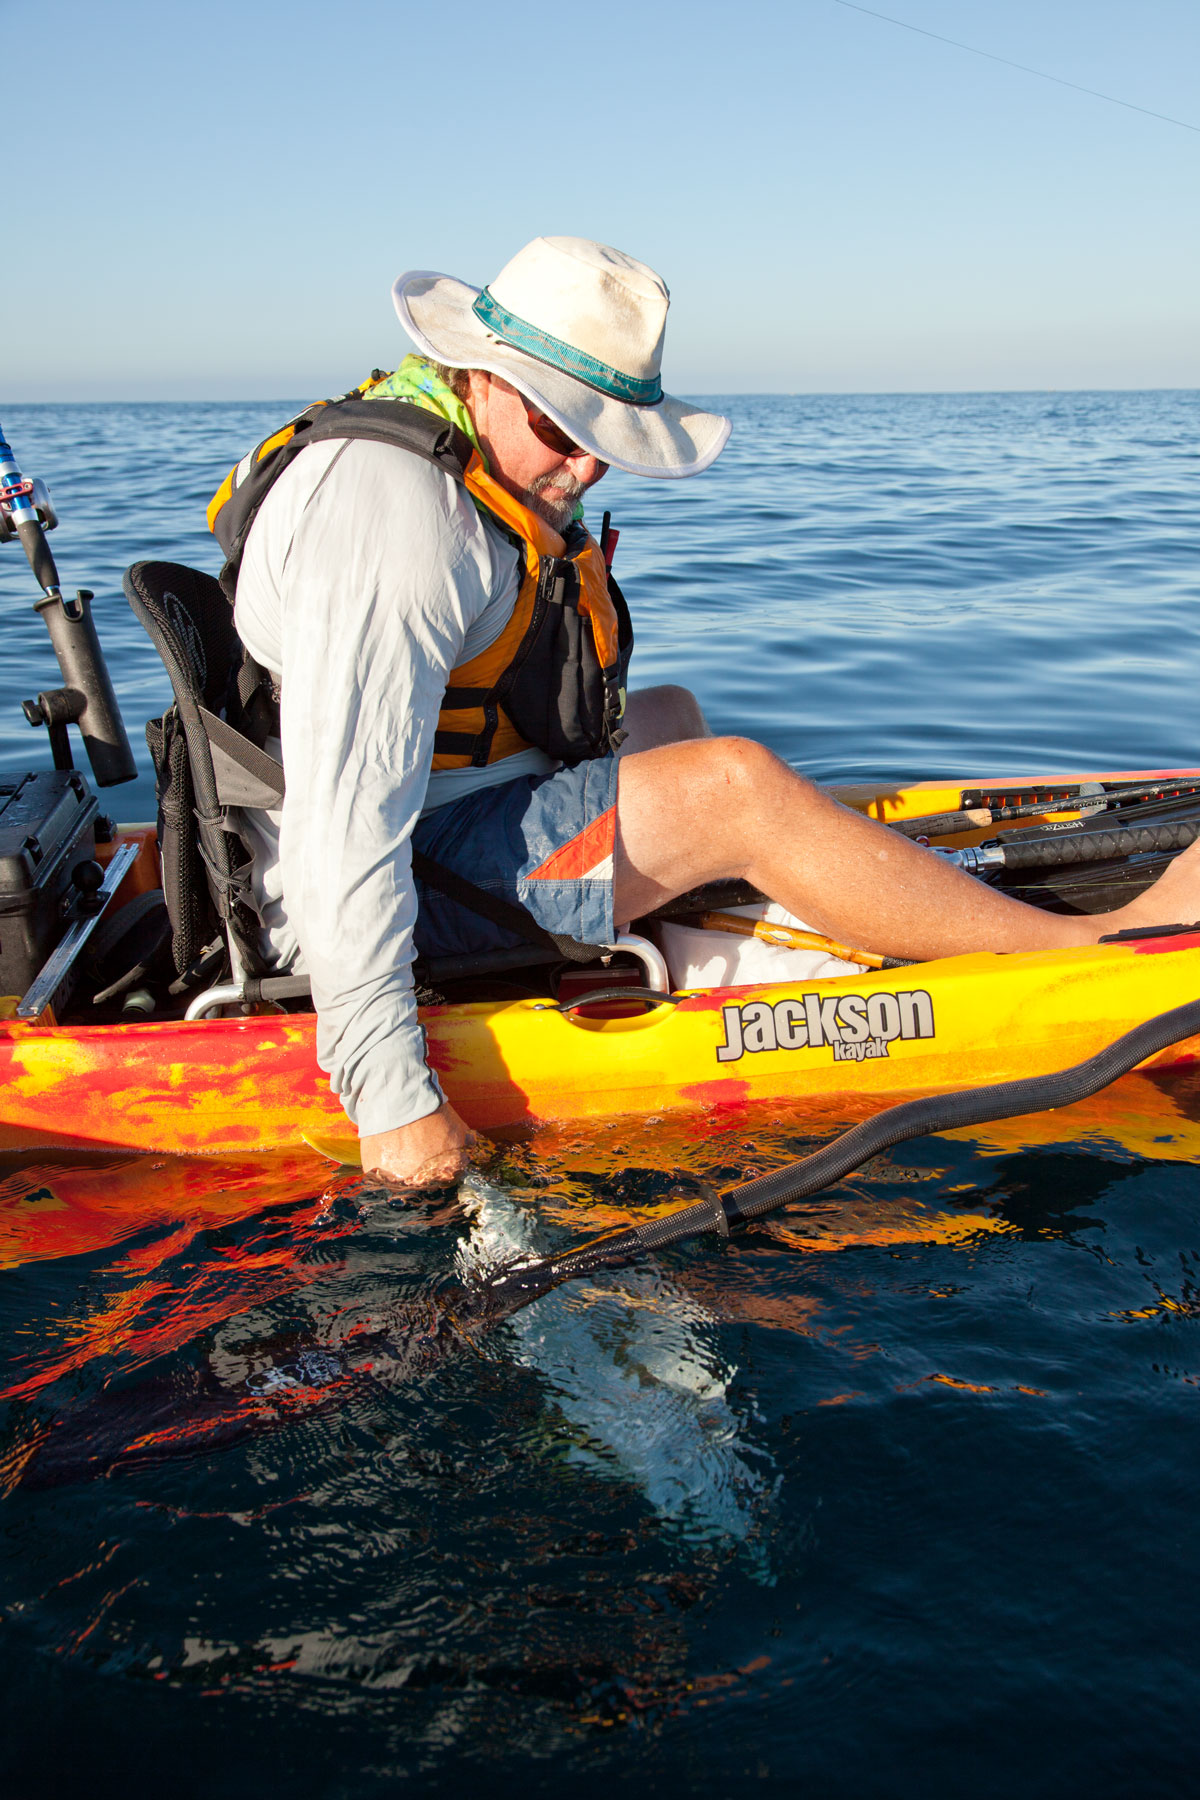
With your kayak set up for live bait, you will get more big fish.

In this second part on rigging the Kraken, we will show how to set up the bait tank.

After getting my Kraken, my first stop was visiting my local Jackson Kayak Dealer, OEX, to get some rigging done. Sure I could do it all myself but they have all the tools and parts I needed to make it a fast and easy job.

The Kraken was designed to be easy to set up for live bait fishing, and turning the included KKrate into a bait tank is the first step. Below I will give you a quick photo walk through of how we turned the KKrate into a full circulating bait tank that can hold a lot of big live baits, and hopefully help you get on some big fish.

This is a pretty simple job but does involve doing some wiring and drilling of holes into the kayak and your KKrate, if you are not comfortable doing this please get you local shop to help you out. I am not going into the details of wiring here just showing what we used and where it was placed.

For my bait tank set up I would be running all wires internally and running off the same battery I use for my fish finder. This battery sits in the included battery tray at that bow of the kayak. All wires run to this battery so you do need a little extra wire.

Because I have the bait tank wired internally I had to first decide my switch placement. I decided to put it on the side wall of the kayak just forward of the seat. This kept it at easy reach but in a position where I would not accidentally hit it. Be sure to get a good waterproof switch and the rubber boot.

Bait tank switch on side wall in front of seat.

Bait tank switch on side wall in front of seat.

Setting up the pump is pretty simple, you just need some short lengths of tubing, a couple right angle connectors and a hose quick disconnect. We ran the wire from the pump through the side wall in a position where it was least likely to get hit or pinched under the seat.

The pump sits in the bait pump scupper.

The pump sits in the bait pump scupper.

(Bottom view) The pump is held in with the screw on strainer. this keeps debris for getting in the pump.

(Bottom view) The pump is held in with the screw on strainer. this keeps debris for getting in the pump.

Pump wires going through the side of the kayak

Pump wires going through the side of the kayak

The quick disconnect is the green part that you see in the tubing. It is not necessary but makes it much easier to take the tank off if you want to while leaving the pump on the boat.

Use the quick disconnect it makes things much easier.

Use the quick disconnect it makes things much easier.

After you have set up your pump you need to drill out and set up the KKrate for the input, overflow and drain. The KKrate is set up with a step in the bottom corner so that you can put in the adjustable spray head from the bottom. This keeps the entire setup very clean without tubes going all over. I like the adjustable spray head so you can adjust the flow depending on the bait you have. The overflow has a strainer on it to keep baits from getting out and a long tube to the water flows off the side of the kayaks. The drain is an igloo cooler drain. So that I can access it easier I put the drain cap on the inside of the tank.

View of front of tank, left corner is the input to the spray head. right corner is the drain.

View of front of tank, left corner is the input to the spray head. right corner is the drain.

A look at the adjustable spray head.

A look at the adjustable spray head.

inside the tank, Sprayhead, drain and overflow strainer

inside the tank, Sprayhead, drain and overflow strainer

Overflow. I put mine on the back of the tank  to get it at the height I wanted it. but you can put it anyplace you like.

Overflow. I put mine on the back of the tank to get it at the height I wanted it. but you can put it anyplace you like.

KFS battery box that supplies power to my tank and fish finder.

KFS battery box that supplies power to my tank and fish finder.

I hope this helps you to easier set up your Jackson Kayak Kraken to be a fishing machine. You should be able to find all the parts you need at your local Jackson Kayak dealer or at KFS.

Kraken Fish Finder Rigging

The Kraken on the water and ready to hunt

The Kraken on the water and ready to hunt

After getting my Kraken my first stop was visiting my local Jackson Kayak Dealer, OEX, to get some rigging done. Sure I could do it all myself but they have all the tools and parts I needed to make it a fast and easy job.

The Kraken was designed to be easy to rig for fish finders and turning the included KKrate into a bait tank. Below I will give you a quick photo walk through of how we rigged up my new Kraken with a Raymarine Dragonfly fish finder.

The first job was deciding the position of my Raymarine fish finder and how to mount it. I decided to put it onto the center hatch attached to the piece of starboard which covers the hinge. I like to keep it so that I can take the entire finder base off, this keeps it from getting damaged when carrying a bunch of boats. I used a combination of a Yakattack Mighty mount and some Ram mount parts to mount the base.

Raymarine Dragon fly base attached with a Mighty mount and Ram parts.

Raymarine Dragon fly base attached with a Mighty mount and Ram parts.

We ran the power and transducer wires through the hull just in front of the hatch.

We ran the power and transducer wires through the hull just in front of the hatch.

The next step was setting up the transducer and running the wires to the battery and the head unit. To secure the Transducer we used a disc of plastic that came from a flush mount install. Just cut it to size and put a couple holes in it. Run a piece of cord though the bolt hole at the top of the transducer then up through the Transducer scupper and through the disc. We used a small cord lock to hold it is place. A cheap and easy transducer mount. The Transducer pulls up nice and snug into the bottom of the boat.

Transducer mounted with small disc of plastic and some cord

Transducer mounted with small disc of plastic and some cord

Transducer cable run through the hull in the side of the center hatch.

Transducer cable run through the hull in the side of the center hatch.

Transducer nice and snug in the bottom of the Kraken

Transducer nice and snug in the bottom of the Kraken

With the included battery tray in the Kraken your battery sits nice and secure off the bottom of the kayak. I used a KFS watertight battery box with external connector as my power supply for both my finder and my bait tank.

The KFS battery box fits perfectly into the Kraken battery tray.

The KFS battery box fits perfectly into the Kraken battery tray.

In part two of the Kraken rigging I will show you how we rigged up my bait tank.

Some Kraken on the water shots.

Catch and release of my first Yellowtail on the Kraken

Catch and release of my first Yellowtail on the Kraken

The production on the Jackson Kayak Kraken is beginning and I can’t wait for you all to get a chance to get on one and paddle it and check out some of the cool features the team has put together for this boat. I am still paddling a pre production boat but it is VERY close to being a finished product. Thought you might like a look at it while on the water. There was a pretty good rolling swell, strong current and thumpy surf at the launch and the Kraken performed perfectly. Thanks Kirstin Sammons for joining me on the water yesterday to take some shots.
So you have an idea of how much the Kraken carries.
I weigh 230
Full bait tank is around six gallons
Five rods
Full Tackle box
Fish finder
Battery box for finder and bait tank
Game bag with 5 ice packs.
Some other stuff I am sure I am missing.

The Kraken carried all this weight with no issues and paddled like a dream. On a recent trip I added to that several very nice size fish and again it carried the weight very well.

IMG_3648

IMG_3649

IMG_3669

IMG_3679

IMG_3691

IMG_3694IMG_3699

IMG_3703

IMG_3706